
Looking for Home-made Coffee Ice Cream: How to Make Gourmet Fat-Free, Sugar-Free Coffee Ice Cream with Ice Cream Maker Using Salt and Ice (directions, recipe, with photos, easy and free) in 2025? Scroll down this page and follow the links. And if you bring home some fruit or vegetables and want to can, freeze, make jam, salsa or pickles, see this page for simple, reliable, illustrated canning, freezing or preserving directions. There are plenty of other related resources, click on the resources dropdown above. If you are having a hard time finding canning lids, I've used these, and they're a great price & ship in 2 days.
If you have questions or feedback, please let me know! There are affiliate links on this page. Read our disclosure policy to learn more.
Home-made Coffee Ice Cream: How to Make Gourmet Fat-Free, Sugar-Free Coffee Ice Cream with Ice Cream Maker Using Salt and Ice (directions, recipe, with photos, easy and free)
How to Make Homemade Fat-Free, Sugar-Free Coffee Ice Cream
Using an Ice Cream maker with Ice and Salt!
Click here for a PDF print version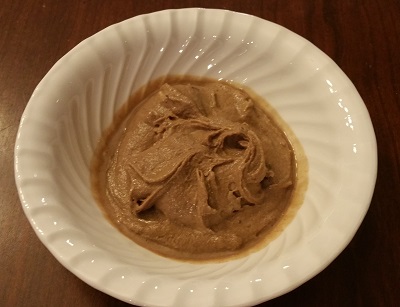
What's better than fresh coffee ice cream? Perhaps fresh premium homemade fat-free, sugar-free coffee ice cream? So let's make our own! It is actually quite easy, and electric ice cream makers are inexpensive! You can make coffee, or many other flavors! The only special equipment you need is an ice cream maker (either electric or manual) that uses salt and ice for cooling. If you have an ice cream maker that uses a gel container that you pre-freeze, see these instructions instead!
If you are looking for an instruction manual for your ice cream maker, we have them, too! See this page.
Directions for Making Homemade Fat-Free, Sugar-Free Coffee Ice Cream
Ingredients
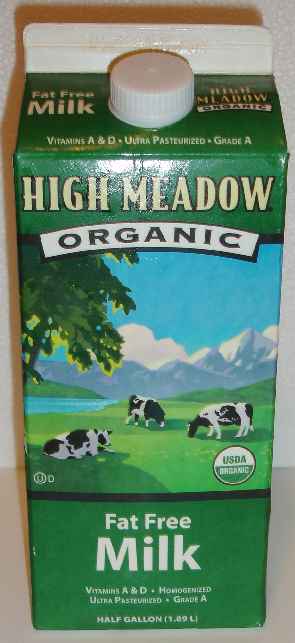
- 2 cups fat-free milk
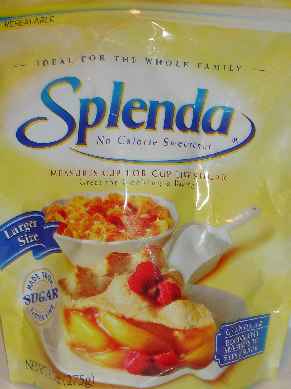
- 1 cup Stevia (in a prepared form like Truvia, it measures same as sugar; if you use another form, you will need do your own conversion) - or Splenda, if you prefer, - OR if your fruit is VERY sweet, you be able to get away with no added sweetener.
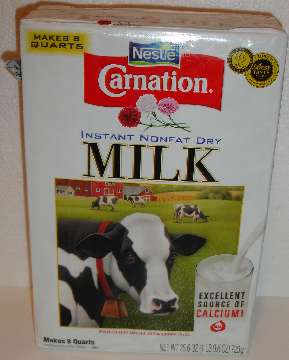
- 1/4 cup fat-free powdered milk
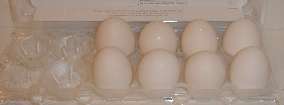
- 8 eggs (yolks only needed) * Note: the yolks DO contain some fat and cholesterol, so there will be some (albeit a small amount) of fat per serving - probably in the 1 % range). I'm experimenting with egg substitutes - watch for a new recipe!
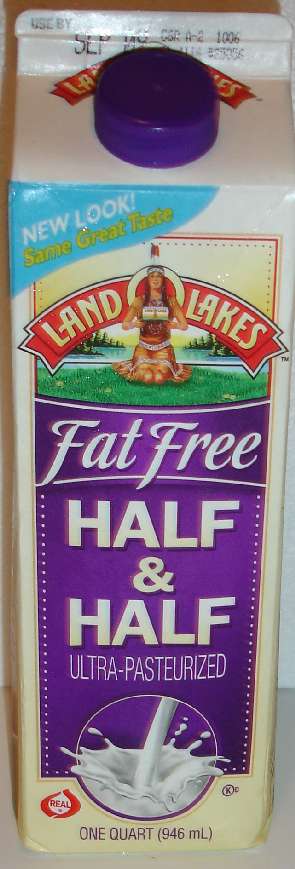
- 1 cup fat-free half-and-half (which DOES contain "corn syrup", which is a form of sugar, so you may want to use 1 more cup of nonfat milk instead - it works almost as well)
- 2 tablespoons instant coffee granules (use decaf, if you want to avoid the caffeine!)
- 1 teaspoon vanilla extract
Equipment
- 1 ice cream maker
- ice cubes (about 8 tray's worth)
- 2 cups (500 ml) table salt
- 1 large pot
- 1 wooden or plastic spatula
Instructions
Step 1 - Be sure you have plenty of ice and salt
There's not much point in trying to make ice cream if you need ice for the ice cream maker. For a typical 2-quart ice cream maker, you will need approximately: 2 cups (500 ml) table salt and 8 trays of ice cubes. It is NOT NECESSARY to use rock salt or crushed ice in most units (certainly not the Oster's).
Step 2 - Heat the milk, Stevia (in a prepared form like Truvia, it measures same as sugar; if you use another form, you will need do your own conversion) - or Splenda, if you prefer, and powdered milk
 In
a large pot ( 4 quarts or larger) with a heavy bottom (for even heat
distribution), mix the fat-free milk, Stevia (in a prepared form like Truvia, it measures same as sugar; if you use another form, you will need do your own conversion) - or Splenda, if you prefer,
and powdered, nonfat, dry milk. Bring the mix to a low simmer over
medium heat and stir to dissolve the Stevia (in a prepared form like Truvia, it measures same as sugar; if you use another form, you will need do your own conversion) - or Splenda, if you prefer, ,
then turn the heat down and just keep it warm.
In
a large pot ( 4 quarts or larger) with a heavy bottom (for even heat
distribution), mix the fat-free milk, Stevia (in a prepared form like Truvia, it measures same as sugar; if you use another form, you will need do your own conversion) - or Splenda, if you prefer,
and powdered, nonfat, dry milk. Bring the mix to a low simmer over
medium heat and stir to dissolve the Stevia (in a prepared form like Truvia, it measures same as sugar; if you use another form, you will need do your own conversion) - or Splenda, if you prefer, ,
then turn the heat down and just keep it warm.
Step 3 - Separate 8 egg yolks
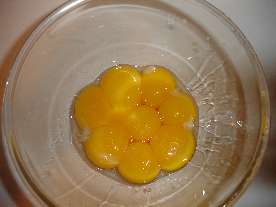
 Separate
the egg yolks from 8 large eggs.
Separate
the egg yolks from 8 large eggs.
As noted in the ingredients, egg yolks are not fat free and do have 215 mg cholesterol per each egg yolk (so if this concerns you, you may want to try an egg substitute, like Egg Beaters or Better'N Eggs).
Step 4 - Whip the egg yolks until thickened
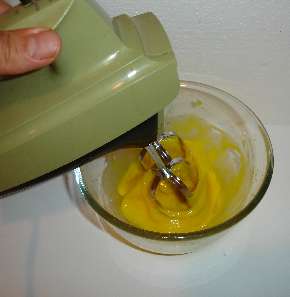
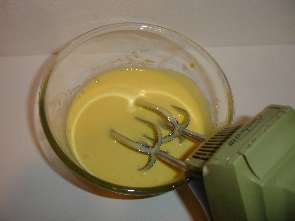 Put
the egg yolks in a medium bowl and whisk until they are thickened (it only takes
about 2 minutes. I use a hand mixer on low speed.
Put
the egg yolks in a medium bowl and whisk until they are thickened (it only takes
about 2 minutes. I use a hand mixer on low speed.
Step 5 - Slowly add 1 cup of the hot milk mixture to the egg yolks
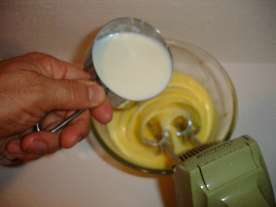 While
constantly whisking, slowly add 1 cup of the hot milk mixture and whisk until it
is blended (a few seconds).
While
constantly whisking, slowly add 1 cup of the hot milk mixture and whisk until it
is blended (a few seconds).
Step 6 - Pour the egg yolk mix into the pot of hot milk
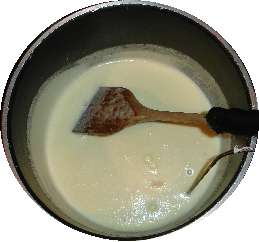 Then
pour the egg mixture back into the pot of hot milk and increase heat to medium.
Stir the mixture constantly with a wooden or plastic spoon, until the
mixture is thickened (like gravy) and registers between 170°F and 180°F (check
with an instant-read thermometer, like the ones with a probe).
Then
pour the egg mixture back into the pot of hot milk and increase heat to medium.
Stir the mixture constantly with a wooden or plastic spoon, until the
mixture is thickened (like gravy) and registers between 170°F and 180°F (check
with an instant-read thermometer, like the ones with a probe).
Step 7 - Add the light cream, coffee and vanilla and refrigerate
 Stir
in non-fat half-and-half, the 2 tablespoons of instant decaf coffee and vanilla.
Cover and pop into the refrigerator for at least 6 hours before continuing on to
step 8. Overnight or even 24 to 48 hours is fine.
Stir
in non-fat half-and-half, the 2 tablespoons of instant decaf coffee and vanilla.
Cover and pop into the refrigerator for at least 6 hours before continuing on to
step 8. Overnight or even 24 to 48 hours is fine.
Step 8 - Mix the milk/cream mix with the fruit and put the canister in the ice cream maker
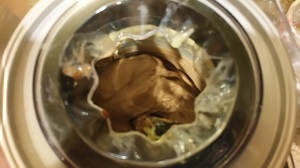 About
45 minutes before you want to serve the ice cream, stir the milk/cream
mixture together with the pureed fruit. Stir it up well. Remove the freezer
canister and pour the milk/cream/fruit mixture from step 8 into the freezer
bowl. and put the cover on the canister. Put the canister in the cream
maker. Layer ice and salt solution as follows:
About
45 minutes before you want to serve the ice cream, stir the milk/cream
mixture together with the pureed fruit. Stir it up well. Remove the freezer
canister and pour the milk/cream/fruit mixture from step 8 into the freezer
bowl. and put the cover on the canister. Put the canister in the cream
maker. Layer ice and salt solution as follows:
A. Pour 1 cup (250 ml) cold water into Ice Bucket.
B. Place a 1 inch (2.5 cm) layer of ice cubes around Cream Canister in Ice
Bucket.
(Hint: Cream Canister should stand straight while layering.)
C. Sprinkle
1/3 cup (75 ml) table salt or 1/4 cup (50 ml) Kosher (coarse)
salt on ice.
D. Continue layering ice and salt to the top of the Ice Bucket.
E. Pour 1 cup (250 ml) cold water over top ice layer.
Note: the photos show pink ice cream because they were taken making strawberry, but the process show is identical for coffee flavored ice cream)
Step 9 - Add the salt and ice and turn on the ice cream maker!
Turn the ice cream maker on and let the maker work until it is thickened, about 20 to 25 minutes. From time to time, add more ice cubes and salt as needed.
You can tell when the ice cream is done, by simply checking the consistency through the opening on the top of the ice cream maker. You will also hear the motor straining, as the ice cream freezes. On some units, the directions with the maker tell you to let it work until the motor stalls and stops.
When it is done, the ice cream should have a soft,
creamy texture. If you want firmer, harder ice cream, transfer the ice cream
to an airtight container and place it in freezer for about 2 hours. Remove
from freezer about 15 minutes before serving.
Step 10 - Enjoy!
Hey, once it reaches the consistency you like, it's time to eat! That's it! You made great homemade fat-free, sugar-free ice gourmet cream!
Frequently Asked Questions
- None yet!


Looking for canning equipment and supplies?
Water bath canner with a jar rack
Pressure canners for gas, electric and induction stoves: Presto 23Qt or T-fal 22Qt
Canning scoop (this one is PERFECT)
Ball Blue book (most recent version)
Jars: 8oz canning jars for jams
Find Other types of farms:
Farm markets and roadside stands
Road trips and camping resources
Local Honey, apiaries, beekeepers
Consumer fraud and scams information
Home canning supplies at the best prices on the internet!
Maple Syrup Farms, sugarworks, maple syrup festivals
Environmental information and resources
Farms For Your Event for birthday parties, weddings, receptions, business meetings, retreats, etc.
Festivals - local fruit and vegetable festivals
Get the
most recent version of
the Ball Blue Book
